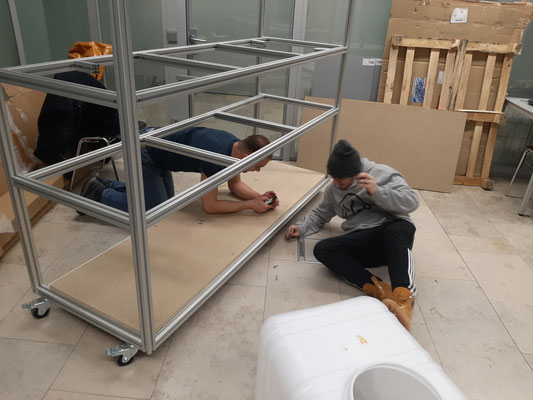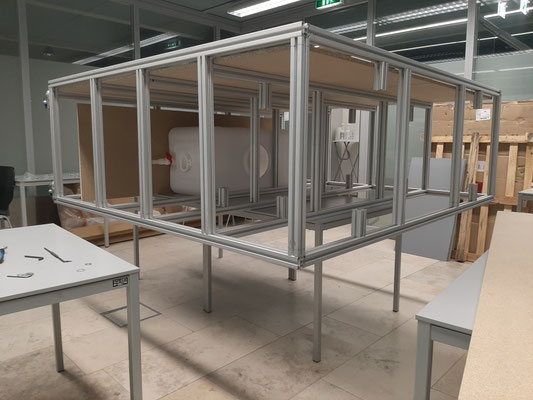
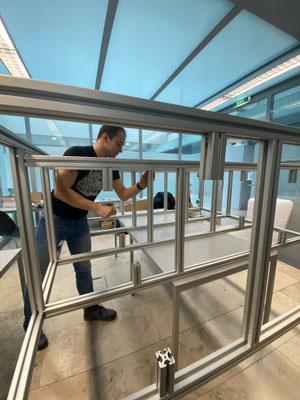
The assembly consisted of the following steps:
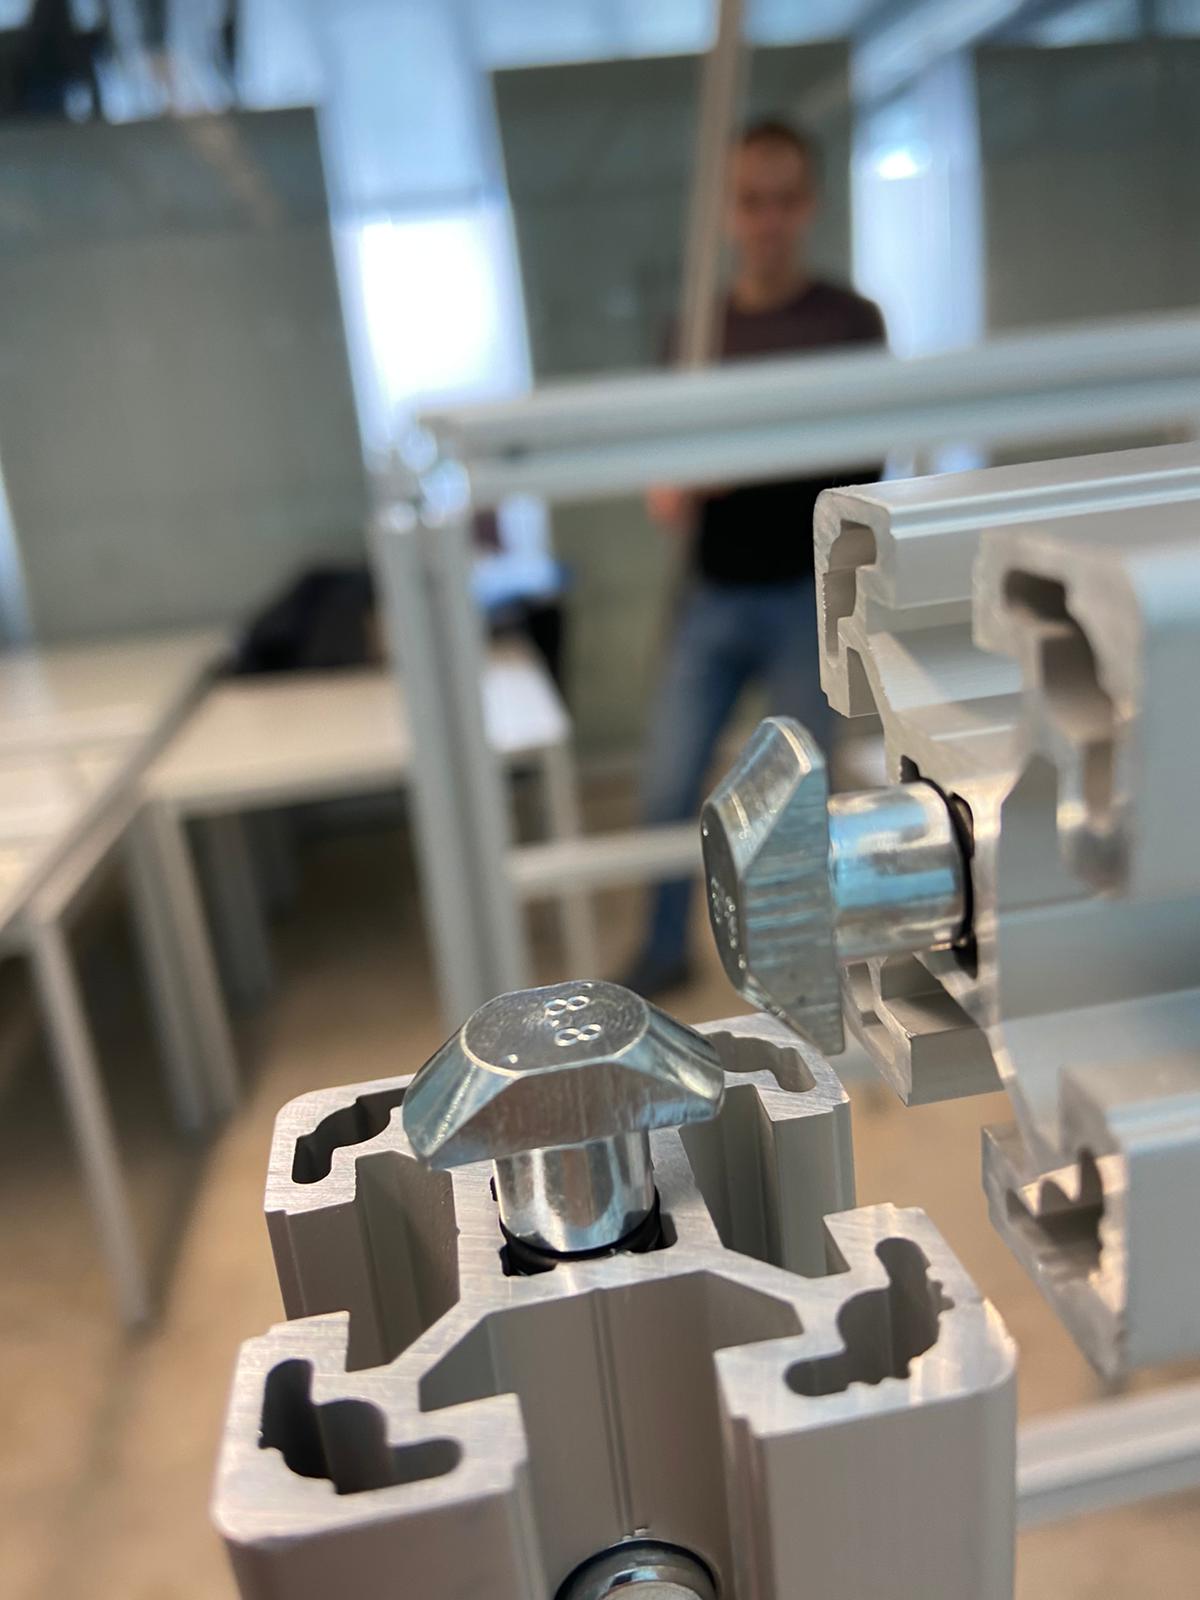
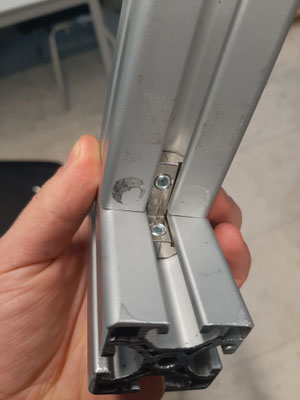
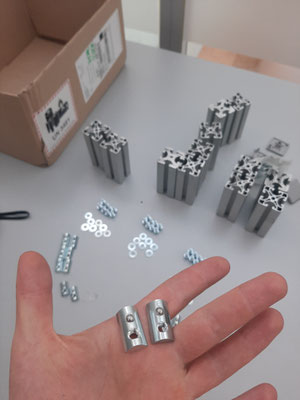
- Preparing the aluminium profile elements for assembly by drilling holes in every end and assembling the metal structure
- Attaching the aluminium LED plate to the roof of 3 shelves: drilling.
- Welding the aluminium tray into a waterproof reservoir
- Attaching the fitting and the pipe to the bottom of the tray
- Cutting and fitting the floor, ceiling, doors, backwall.
On every step of the building process we encountered surprises and we had to adjust and adapt accordingly.
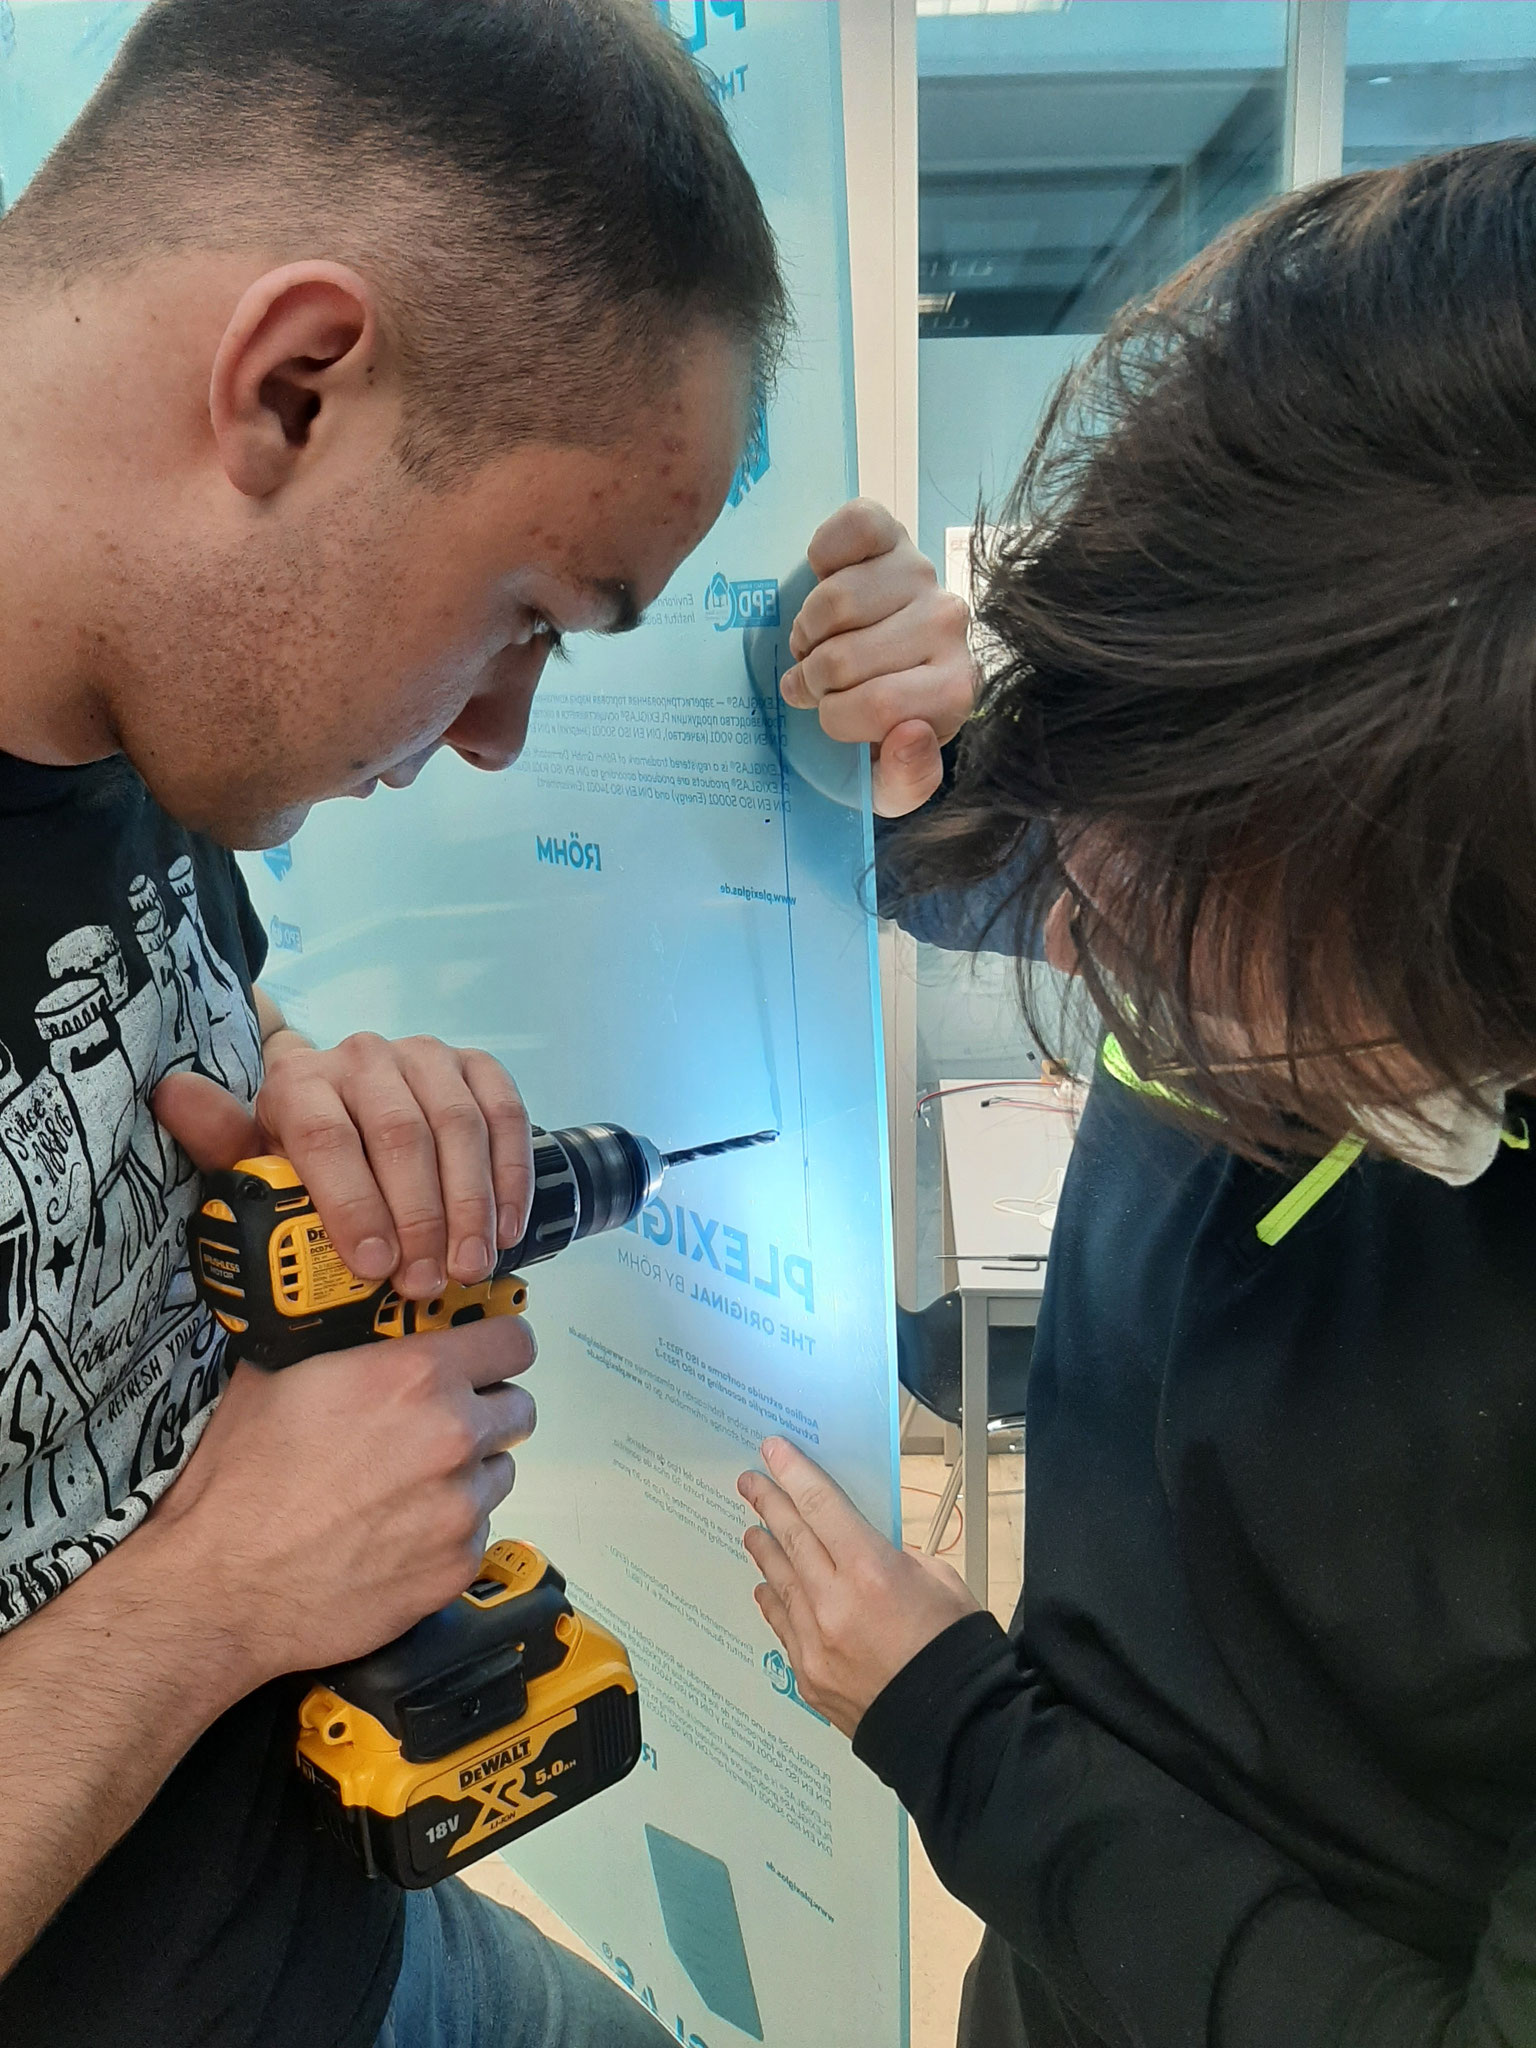
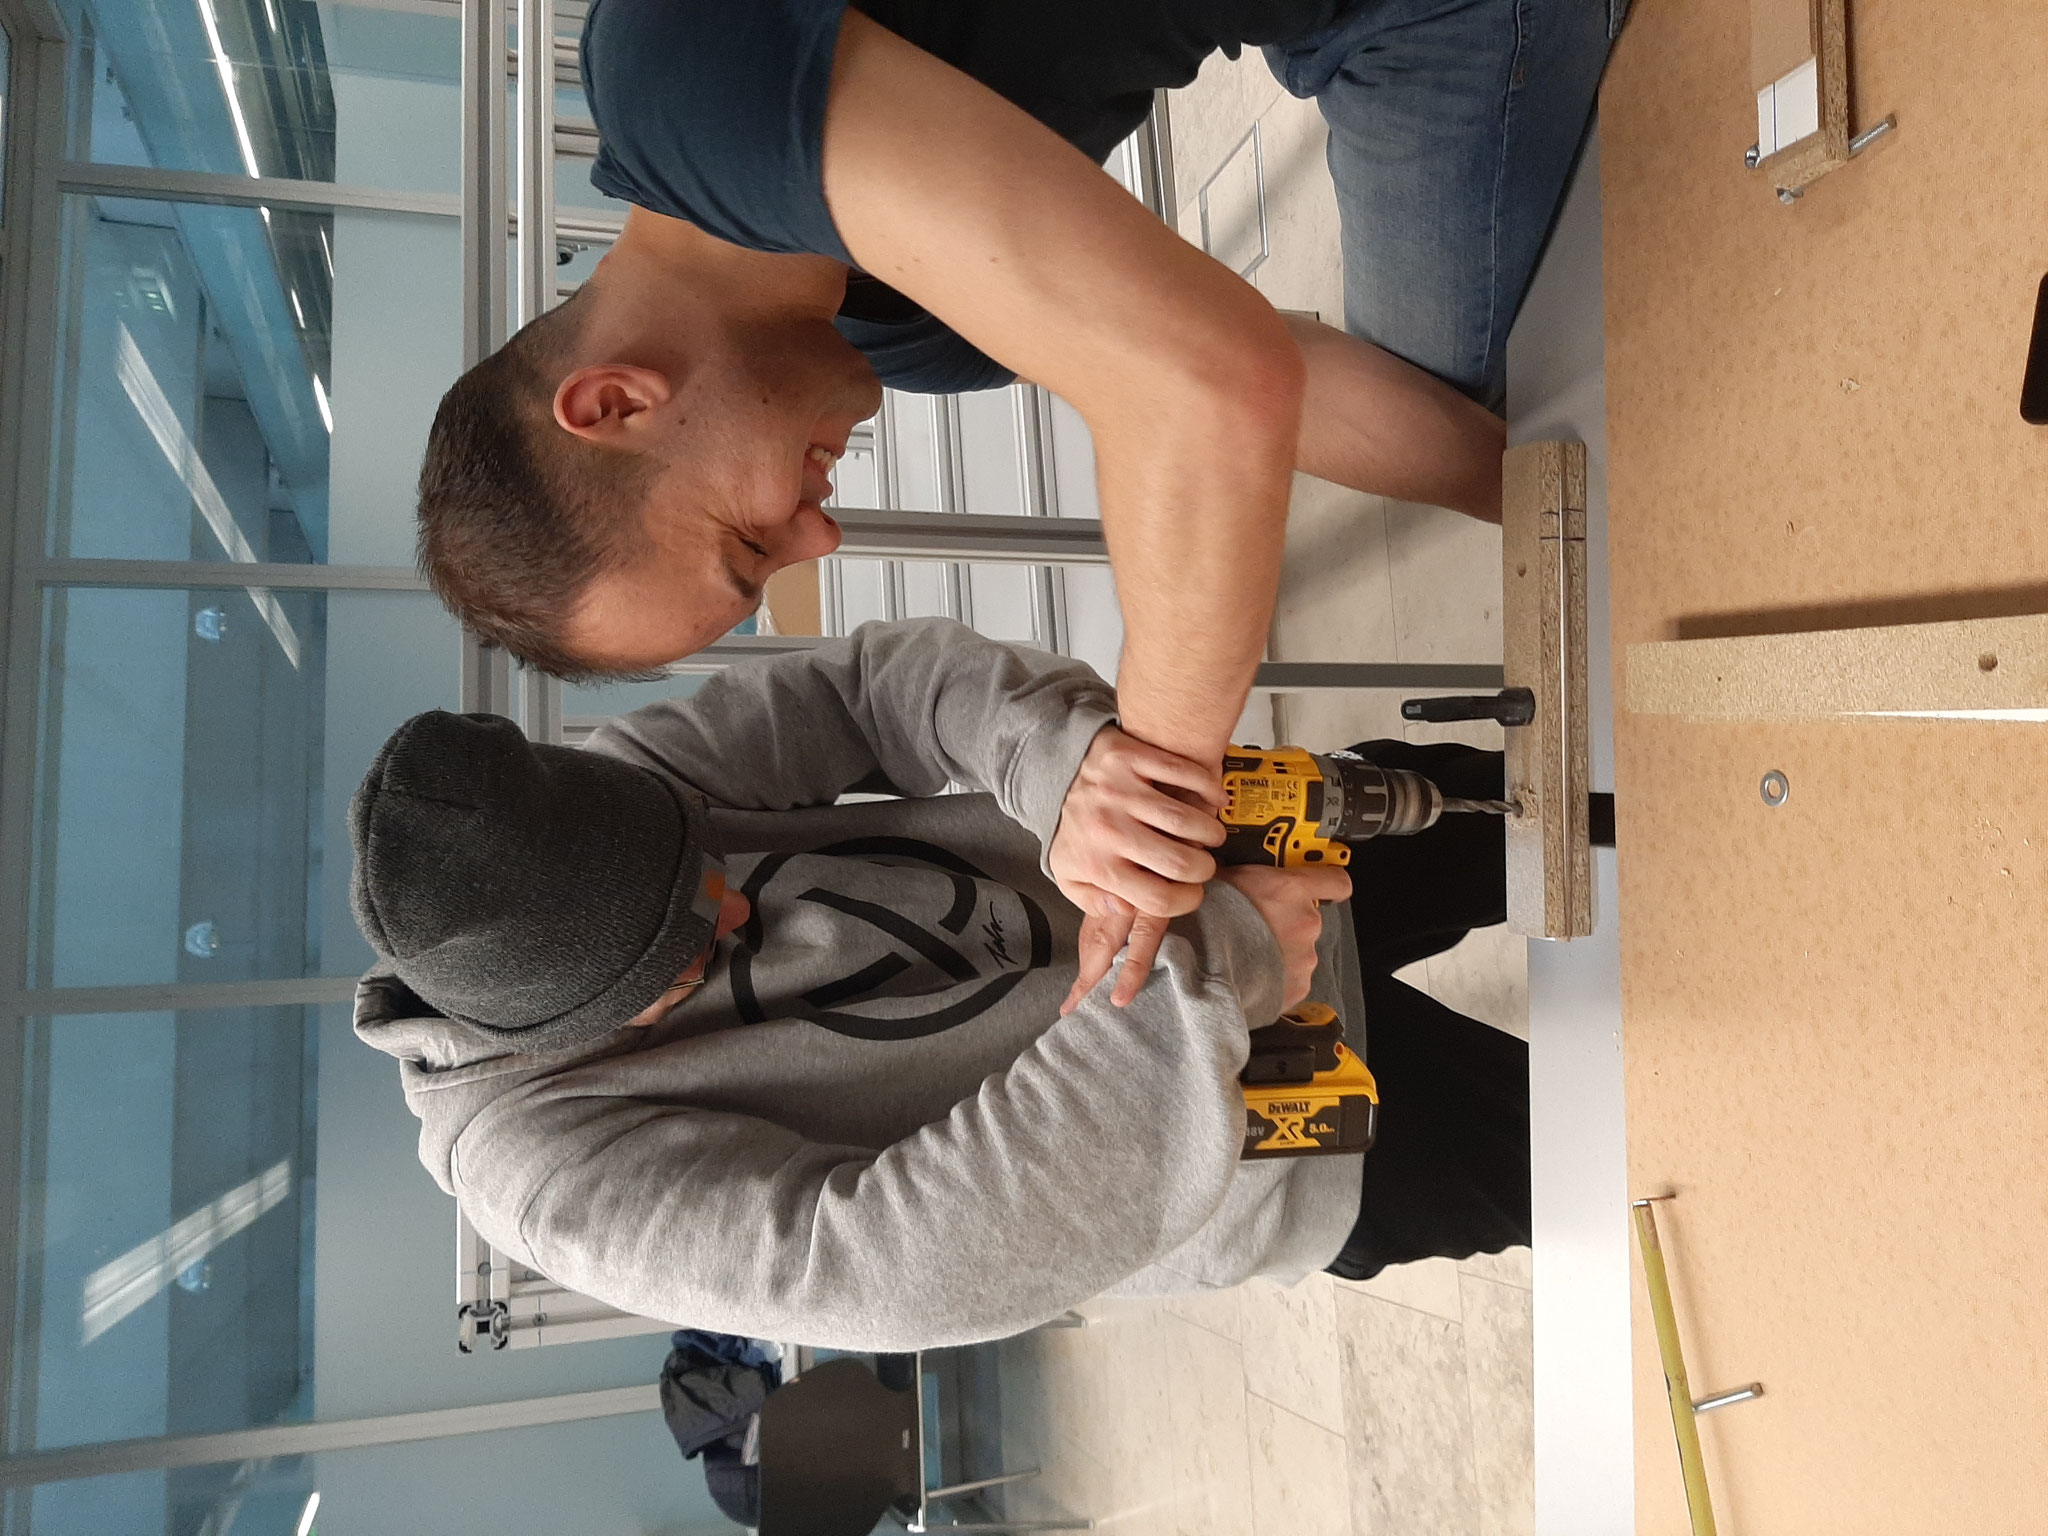
Task 1

First the drilling part seemed simple, since we only needed to drill one hole into every end of the profiles, but then we realized that in
order to have secure connections, the hole needs to be drilled very precisely. And unfortunately the drill at school workshop drifted away from the start position by a few millimeters. After some
time we figured out a method how to compensate for the drift and make sure the attachment hole is drilled in a correct place.
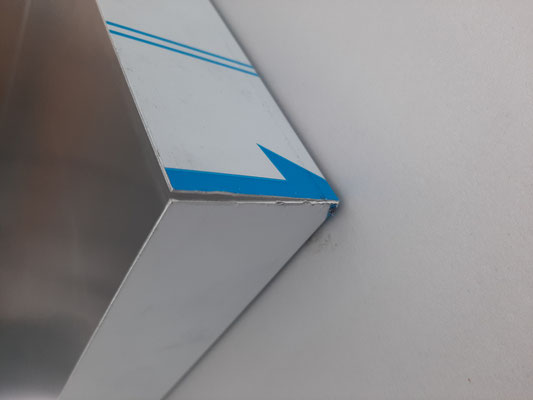
Still, on some elements the hole turned out to be a millimeter too far and as a result that connection would not pull the connecting elements tightly together.
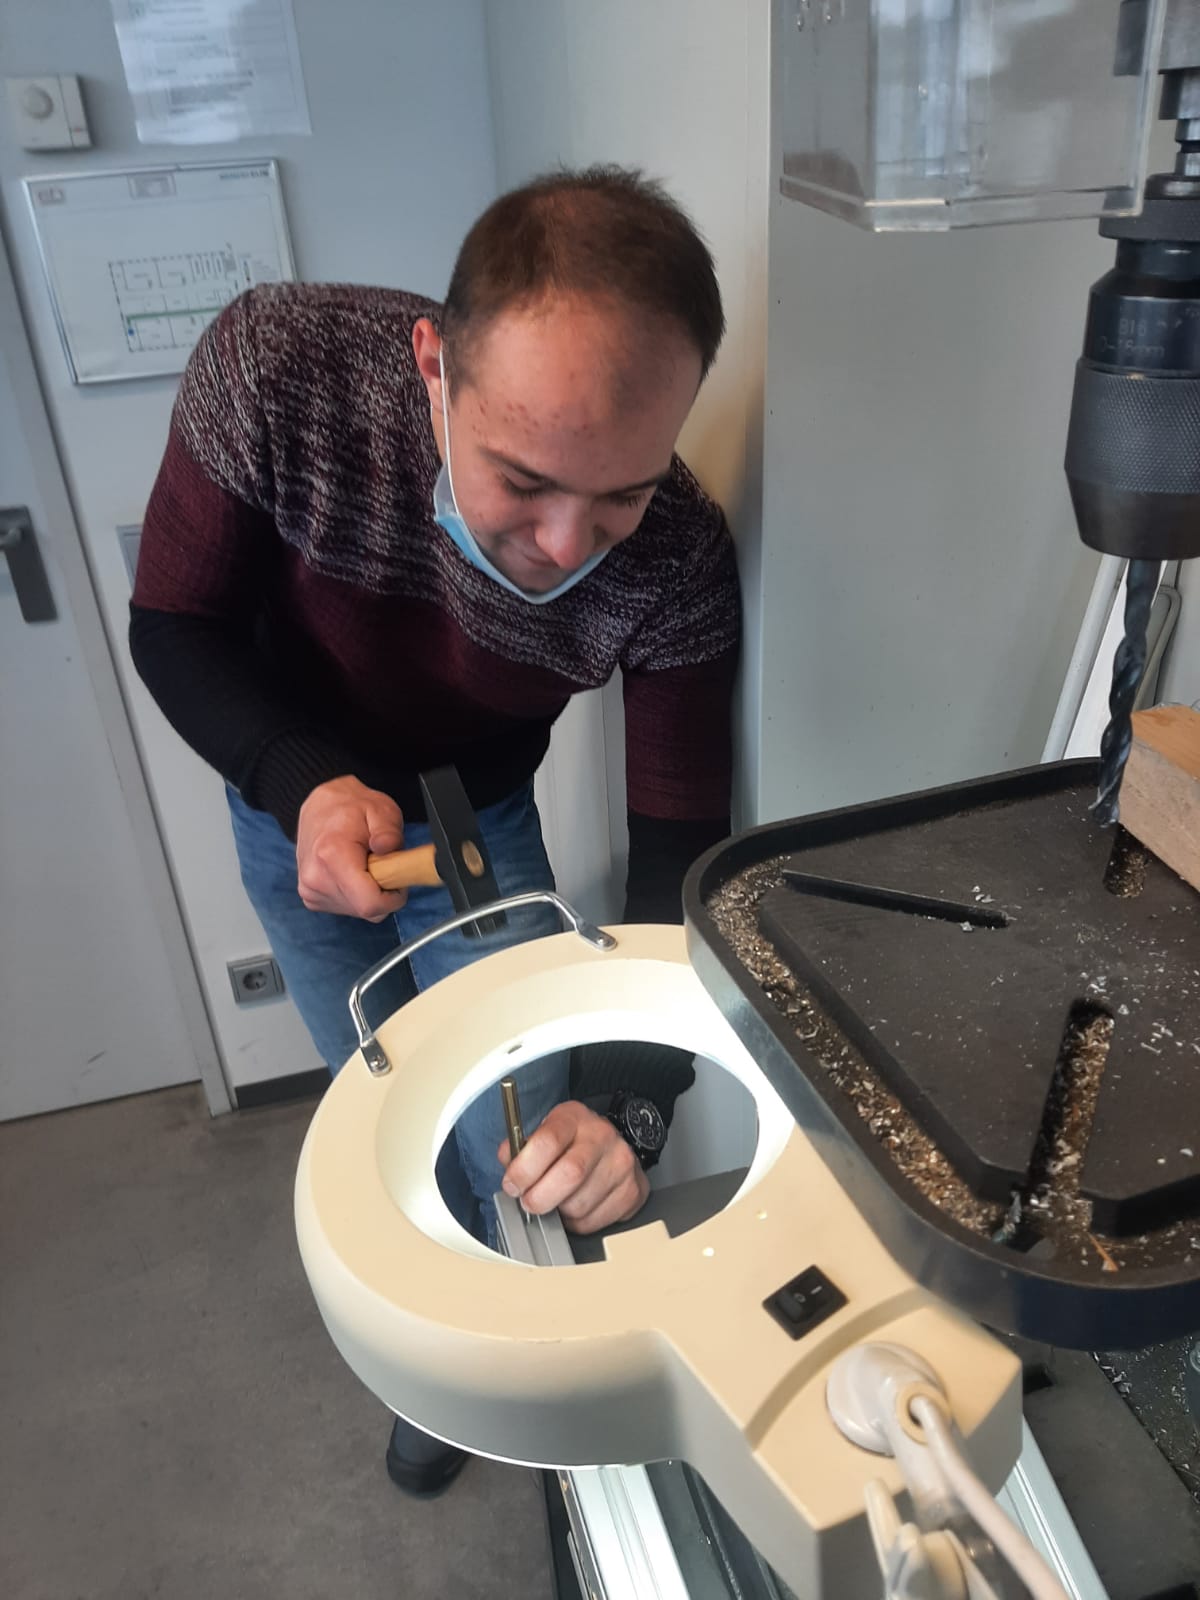
After first assembly we identified the defective profiles and tried to find a way how to bring the hole closer to the needed position.
Our initial idea was to make the hole wider, but that was a very slow and tedious process since a regular drill is not made for drilling sideways, only directly down. Trying to drill sideways
might even damage the drill.
Therefore we decided to use the other sides of the defective profile and just drill a new hole.
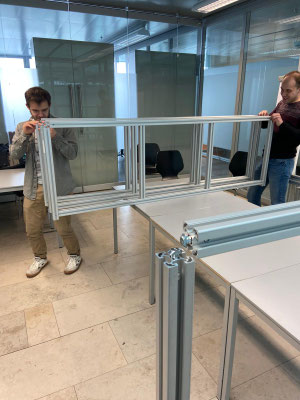
Task 2
After the assembly of the main frame we tried putting on the aluminium LED plate. The 1mm thick aluminium sheet turned out a lot more flexible than we thought and did not stay in the desired positon as first planned. For our purpose it was vital that the light was in a completely straight position. We invented an additional attachment system for the corners to hold the whole plate leveled.
Task 3
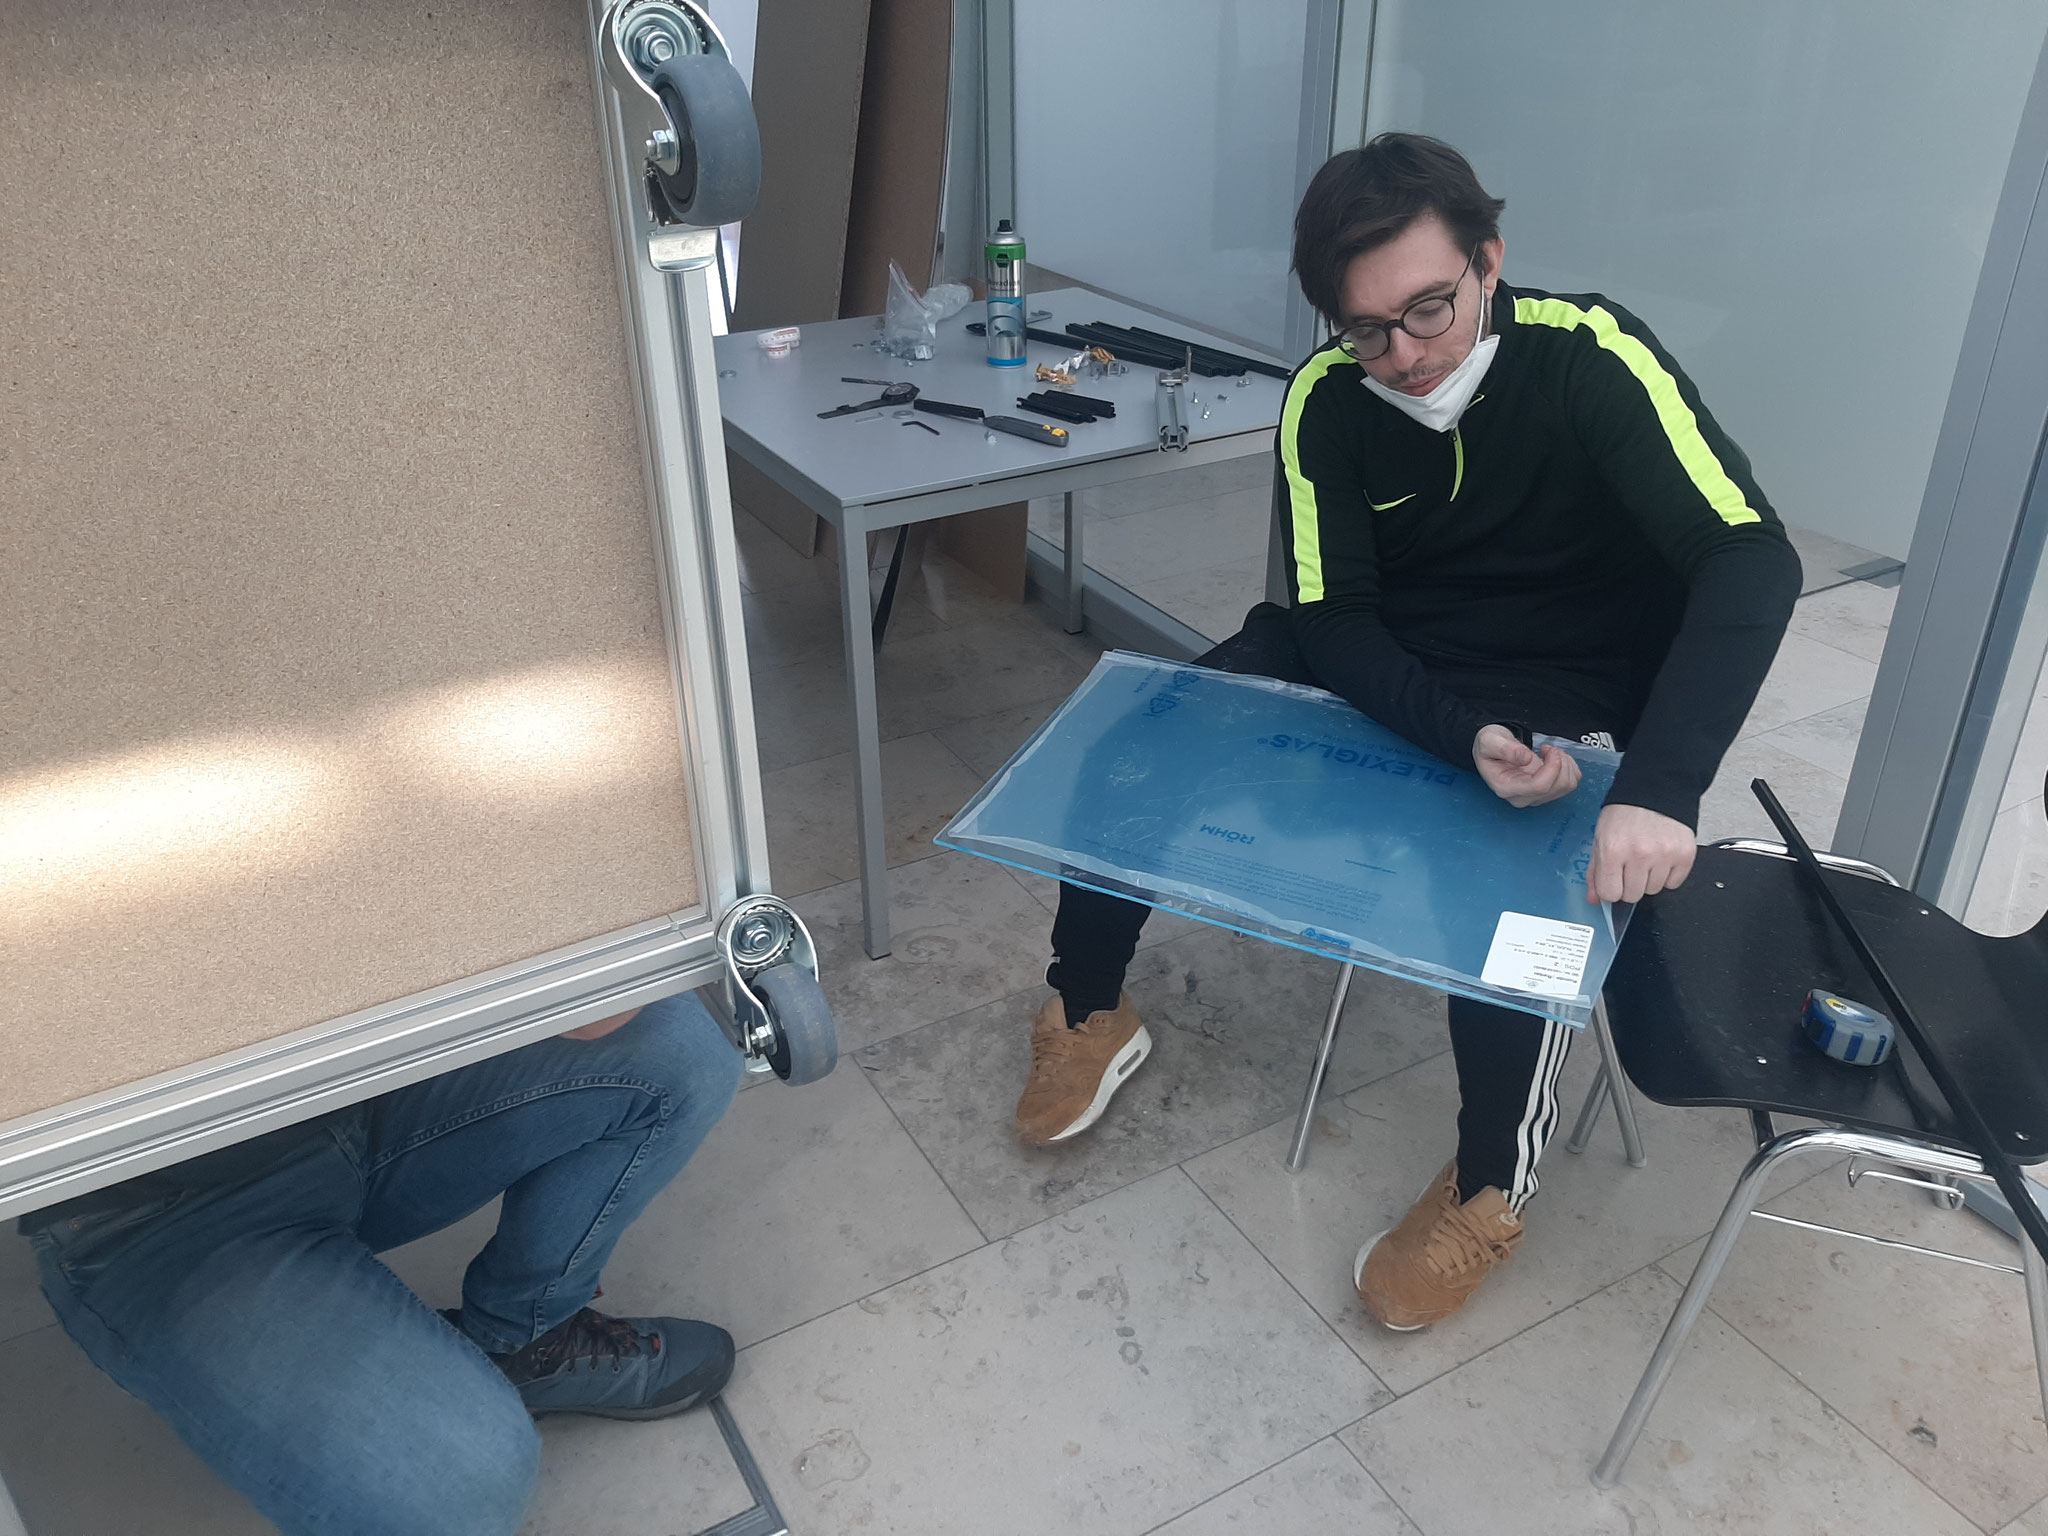
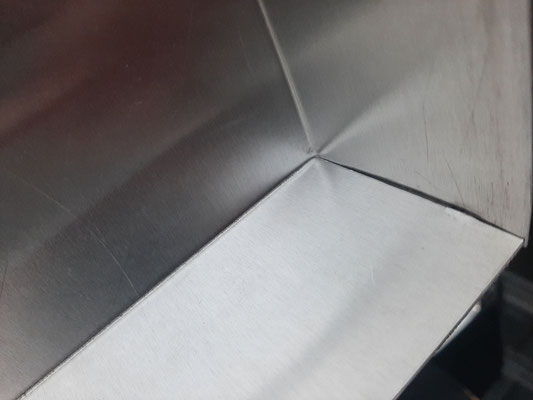
With the plant trays there were two surprises. Firstly, since the size of our hydroponic system is unusual we decided to order a custom-made tray. Upon its
arrival we saw that the tray was indeed in the shape that we needed, but the corners were not welded together - therefore the water would simply pour out.
We looked for ways to seal it and unfortunately there was no option to do that in the university, but luckily, a fellow teammate in the Agricultural team had a welding workshop next to his home.
They helped us out and welded our aluminium wannes into waterproof reservoirs.
Task 4

The second blunder was that the opening of the fitting that we attached to the floor of the wanne rested around 1cm above the floor of the wanne. That was a problem since it would mean that the water below the edge of fitting opening would stay in the tray and not flow back out. Therefore we would have a constant 1cm pool of water in the bottom of our trays, it would cause the plants roots to suffocate and probably algae would start growing there as well.
We solved the problem by gluing a nut to the hole in bottom of the wanne and screwing the fitting directly onto that. This way the fitting opening was on the same level as the bottom and all of the water would pour completely out at the end of the watering cycle.
Task 5
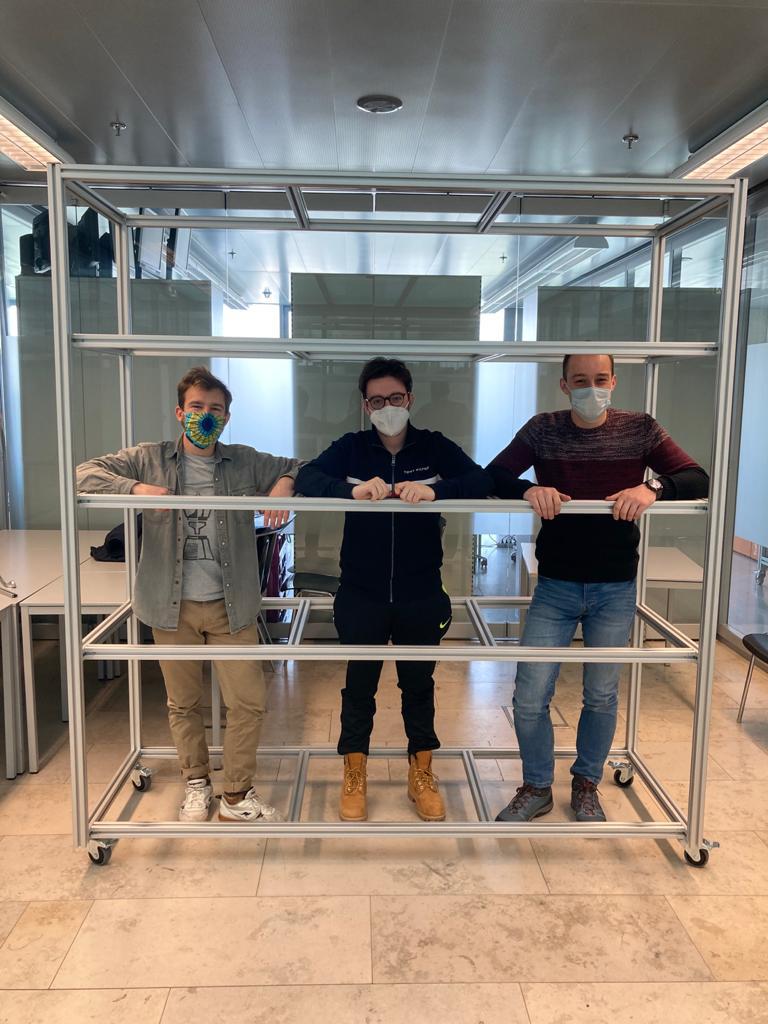
According to original our plan was to do the final assembly directly in the Mensa and leave it there, but we thought it would be a good idea to make the
growbox mobile - to be able to assemble in a student room and then roll it into the Mensa. Also in a case of need it would be possible to move it elsewhere without having to disassemble it. So,
we collectively decided to make the closet shorter 225 ->199 cm in order to be able to fit through every door in the FH.
Regarding this change, we had to also cut shorter the main 4 main aluminium frames, windows, doors and the back wall. The bottom part of the closet could not be made shorter because it held
the control box and the watertank. We reduced the length of every growing chamber by around 10 centimeters and managed to make the closet fit into a 2m high door.